Install Windows onto the new hard drive/computer as usual.
Then plug in the various hard drives with your media.
You can save a lot of work, if you can remember which drive had which drive letter assigned under the old Windows installation.
If you do remember, change the drive letters accordingly: https://www.lifewire.com/how-to-change-a-drive-letter-2626069
As last one, add the drive with your “plex data” (i.e. not the media files, but all the data which Plex Server collects and stores about your media).
This one, as well, should get the drive letter it had previously (although that’s not critical).
Remove the authentication token of the old server from your Plex account: https://app.plex.tv/desktop#!/settings/devices/pms
Now install Plex Server.
Start it up, connect it to your existing plex.tv account (i.e. use the same user name, email address and password).
Copy one or two media files into a separate location and create a minimal media library with them – just to test that Plex server (PMS) is running correctly.
If PMS does run, go to
Settings - Server - General - ‘Show Advanced’ - “The path where local application data is stored”
Before you enter anything in there, take a look at your drive with the plex data. Seek for the folder which is named exactly Plex Media Server.
Now, to be absolutely sure, look inside that folder and see if there is another folder Plex Media Server there. (Normally, it should not)
Basically, what you are looking for is a folder named Plex Media Server which has these sub-folders inside:

If it looks exactly like that, you probably have found the right folder.
Verify this by inspecting the date on the various folders. The file named com.plexapp.plugins.library.db inside of Plex Media Server\Plug-in Support\Databases should have the date of when Plex server did run the last time. (If it doesn’t, you have only found an old folder which probably doesn’t contain your correct data.)
Now, look at the full path name of the folder Plex Media Server. For instance, it could be D:\plexdata\Plex Media Server
Now, copy the drive letter and the path names preceding Plex Media Server into the Windows clipboard. In our example, this would be D:\plexdata only.
Now paste this path into the input field “The path where local application data is stored” and Save the changes.
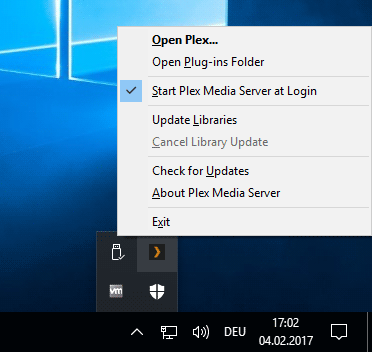
Shut down (Exit) plex server using the task tray icon.
Now, copy the contents of the folder Plex Media Server\Plug-in Support\Databases to a safe location. We need this, in case something goes wrong during the following actions.
Start up Plex server again.
Open the web app and see if your previous library names are shown now (at least under MORE, in the side bar, at the bottom).
If they do, continue.
If they don’t, abort here, STOP plex server, and report back.
Settings - Server - Library:
‘Empty trash automatically after every scan’ OFF
‘Scan my library automatically’ OFF
‘Scan my library periodically’ OFF
Now Edit each of your libraries,
go to the ‘Add Folders’ tab and inspect the drive letters and path names.
Compare them to the currently assigned drive letters of your media drives.
If you encounter differences, correct them by assigning the correct drive letter to the drive in Windows.
Do not change anything in the Plex dialog!
If you have verified that all your media drives have their previously used drive letters now, enter each of your libraries and go to the preplay screens of some media.
See if they all appear as regularly. Perform the ‘Analyze’ action on some of them, to see if they get recognized and are accessible.
Try to play a few of them.
Report back with your findings.