I am having an issue with photos not being displayed when they are over 100MB in size.
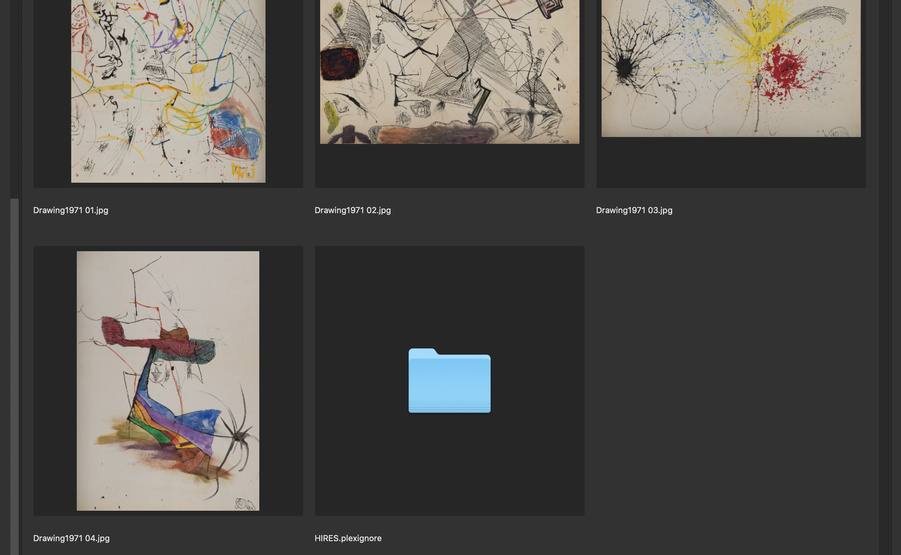
I’ve taken a different approach by converting those files in Photoshop and re-sizing to 4000xxXXXpixels at 72dpi and saving those files as JPEG. I placed the HiRes originals in a folder called HIRES.plexignore. Thinking that the next time I scan Library the jpgs will show up but not the HIRES images.
The JPG images show up, but the folder HIRES.plexignore also shows up. This creates a problem since the jpgs are just fine but then because the HIRES folder is there I get those images that wouldn’t initially load.
I just want the JPGs to load. I use Adobe Bridge to organize everything and that’s been working great for me. Here are some images:
For this to work, you need an actual Text file called .plexignore that tells Plex to ignore that subfolder (no file extension… just that exact file name).
I figured it out and I’d like to share my workflow since it’s a bit odd on the Mac:
After converting files to something under 100MB jpg I created a special folder called HIRES that all my originals reside. This was the folder that I wanted to hide.
I then launched TextEdit and created a document where I had typed HIRES/* I then went to save the file with the name .plexignore. I got a message that the system uses this type of file, do I want to create the file with the “.” It will be hidden I clicked OK. But where did my file go??? A quick Google about hidden files on the Mac revealed that you have to use Command-Shift-. (period) to show the hidden files. Same key command re-hides.
My new .plexignore file was on the desktop along with some other crap that I knew I could delete…
I moved the text document into the folder that had my new jpgs and the folder of HIRES.
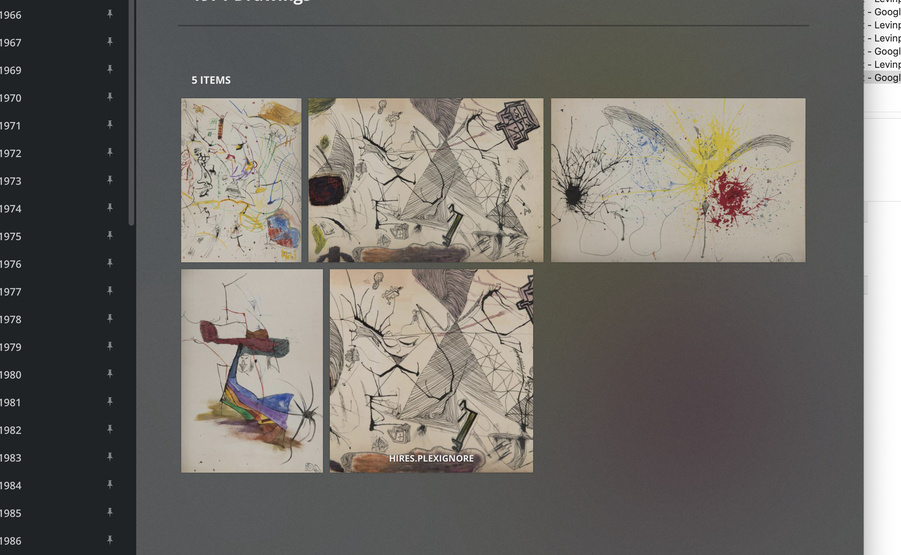
I then went to PMS, re-scanned, and the new JPG all show up even in viewer mode, AND the folder of HIRES images is hidden!!!
I found that in my other few libraries I could just copy and paste that text document since I took the same approach to all.