I’ve been using zap2xml as my EPG source in plex for some time, and have had a few questions on how to set it up, as well as how to combine multiple EPG sources, which currently plex is unable to do with the native EPG.
So what is zap2xml? it is a command line script that connects to zapit or tvguide to generate an xmltv file that we can use with plex to populate the EPG.
I’ve used it with zap2it (https://tvlistings.zap2it.com) so that’s what we’ll be covering here.
So first thing, you need to decide what system that you’ll be running this on. Ideally it’ll be your Plex media server. I have successfully used zap2xml, with windows, Linux (Ubuntu), as well as with my QNAP NAS.
Note: If you are using this with Linux…or a NAS which likely uses some form of Linux, you may need to install perl. For a NAS, you’ll need to see if there is a plugin/addon for perl on your NAS, or check your NAS forum. On my QNAP NAS I’ve successfully used the QPerl 5.26.0.2 addon, which i believe is a non supported community developed addon. If you’re using Ubuntu, I believe is it already installed my default, but you may need to install some additional modules. Using Ubuntu Server 18.04 & 18.04.1 LTS I needed to install the following perl modules.
sudo apt install libhttp-cookies-perl
sudo apt install liblwp-protocol-https-perl
sudo apt install libjson-perl
Note: I had an issue installing the libjson-perl module on Ubuntu 18.04.1 when using the iso with the new Subiquity Installer (ubuntu-18.04.1-live-server-amd64.iso). I found that if I installed it using the iso with the traditional installer (ubuntu-18.04.1-server-amd64.iso), that everything worked well.
After some investigation, I discovered that the package sources / repositories on these two build are different. You can read more about it, and check out some possible fixes here apt - Different sources.list entries between 18.04 server and 18.04.1 server ISOs - Ask Ubuntu
Next head over to http://zap2xml.awardspace.info/ and download the appropriate version of zap2xml. Use the perl download for linux based systems and the window one for Windows based systems

While you’re here check out the documentation for the command line options
You’ll also need to head over to https://tvlistings.zap2it.com and set up a free account.
Once your account is setup, go ahead and log in to zap2it.
Click on Change provider or Time Zone

Select your country (Canada or United States), and type in your Postal code or Zip Code, then click on find providers. You’ll notice that there are a number of cable, satellite or antenna providers. Since I’m using an antenna for this example, I’ll pick Antenna, then Local Over the Air Broadcast

Check over the channel list to make sure that all the channel’s that you want are there. If there are some that are missing, you can create a second zap2it account and put in a different postal or zip code to find the missing channels and combine the results with zap2xml. I haven’t tried it, but you should also be able to combine antenna and cable epg’s if you need to.
As an example, I live in the niagara region and we get a number of stations from Toronto, Hamilton and Buffalo. When i put my postal code in zap2it, there were some channels that were not showing up that were coming from Buffalo, so I googled buffalo zip code’s, then created a 2nd zap2it account and copied in the zip code and got a EPG listing with the missing channels.
You’ll also notice on the zap2it site that you can “star” channels…this if like making it as a favorite. later when we use the zap2xml script, you’ll have the choice of exporting information for all channels, or just the one’s you’ve starred. If you combine 2 or more EPG sources from zap2it, i’d recommend using this to avoid getting duplicate data since there may very well be overlapping information.
so now we’ve downloaded zap2xml and set up our zap2it account(s)…so the next step would be to create a folder to place the zap2ml script in, as well as the config files and output files that it’ll generate.
I called my epg. On ubuntu you can do something like
mkdir ~/epg
On windows, create a folder like c:\epg
if using ubuntu/linux copy the zap2xml.pl file to ~/epg
Depending on how your system is set up, you may achieve this differently, but since i’m using ubuntu server and have no GUI, i used the filezilla ftp client to transfer the file from my pc over to this folder.
next you’ll need to modify the permission on zap2xml.pl to allow the script to be executed.
chmod 755 ~/epg/zap2xml.pl
If you’re using windows, you’ll just need to run the zap2xml-install.exe file that you downloaded, and choose the epg folder you created as the extract location.
Next you’ll need to create a config file with the settings that zap2xml will use to download the epg. I have one file for each zap2it account. I named my files canada.zap2xmlrc & usa.zap2xmlrc
Just a tip if you’re creating this file from a windows pc, but will be transfering it to ubuntu/linux, do not use notepad, either use something like Notepad++ or learn to use a text editor on linux like vi, nano or even use cat to create the file.
You can find a list of all the option on the zap2xml website. Here is an example of my config canada.zap2xmlrc file
start=0
days=12
ncdays=0
ncsdays=2
retries=2
user=your_zap2it_username
pass=your_zap2it_password
cache=/home/userame/epg/cache1
lang=en
outfile=/home/username/epg/tv_grab_file.xmltv
outformat=xmltv
start if for offseting days, which i don’t want so it’s set to 0
days is for the number of days that you want to download epg data for.
ncdays is days not to cache information for from the end of the epg data.
ncsdays is days not to cache from the start of the epg data. I have this set to 2, so basically in case the lineup changed redownload the latest data and ignore the previously cached data for the today and tomorrow.
user and password if pretty self explanatory
cache if a folder to use to cache the programming guide data that the script downloads. this saves on time so that it doesn’t have to redownload everything every time, and only download new stuff or no cache days data.
outfile is the path of the output xmltv file that we’ll use in plex for the programming guide
if you are planning on downloading multiple epg source, it’s recommend using separate cache folder paths, and separate outfile path.
Next to simplify things we’re going to create a text file (script) with some additional setting that will call zap2xml. afterward you can simply run this script as needed, or create a scheduled task to run it at a specific time. On ubuntu i created named mine create_epg.sh and placed it in the epg folder. here is an example of the contents of the file.
#!/bin/bash
perl /home/username/epg/zap2xml.pl -C /home/username/epg/usa.zap2xmlrc -L -T -b
perl /home/username/epg/zap2xml.pl -C /home/username/epg/canada.zap2xmlrc -J /home/username/epg/usa.xmltv -L -T -a -b
it’s a simple bash script that call the zap2xml perl script, specified the path to the usa.zap2xmlrc config file, and tell zap2xml to output the live tag (-L), not to cache shows marked as to be announced (-T), and retain the channel order(-b). Next run the output for the canada output specified in the canada.zap2xmlrc config and combine it (-J) with the output we just generated (usa.xmltv) and for the canada one, also output all channel (-a)
You’ll also need to make sure that this create_epg.sh script is executable, which you can do with chmod, as we did before.
run this from a unbutu/linux command line type
sh ~/epg/create_epg.sh
If you’re using Windows, create a file named create_epg.bat in the epg folder with similar appropriate settings. Just make sure when your creating the file .bat file that it gets to correct extension and isn’t named create_epg.bat.txt. to avoid this don’t have windows hide file extension type, so you can easily see it and change it if necessary
C:\epg\zap2xml.exe -C C:\epg\usa.zap2xmlrc -L -T -b
C:\epg\zap2xml.exe -C C:\epg\canada.zap2xmlrc -J C:\epg\usa.xmltv -L -T -a -b
once finished double click create_epg.bat
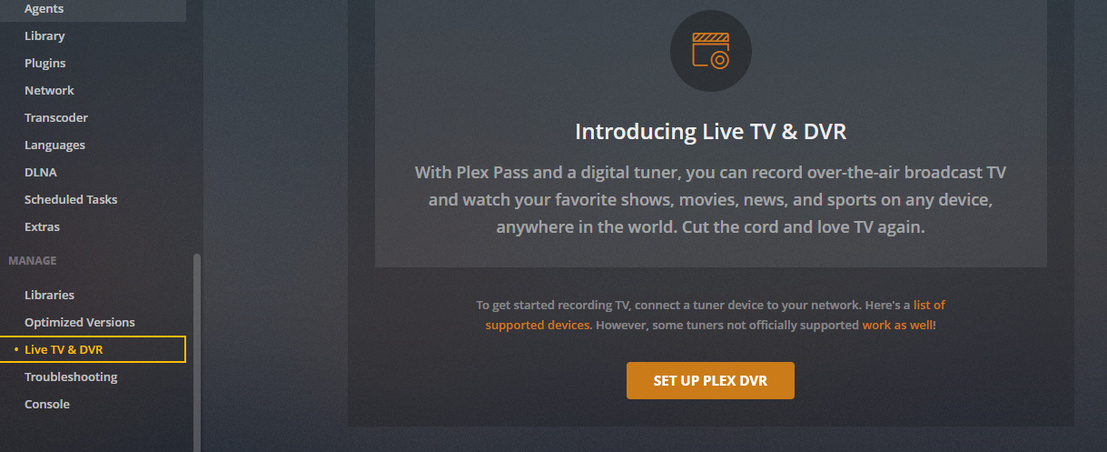
if everything worked you’re epg data should be ready, so let’s test it with plex. Log into your plex media server, and go to settings, then Live TV & DVR. If you already have a DVR setup you’ll probably need to delete it and reset it up…so not any currently recording scheduling options that you have, cause you may loose them.
Next click on set up plex dvr
pick you device and click continue
perform a channel scan if necessary or accept what there if it’s already good, then click continue

Next click on “Have an XMLTV guide on your server? Click here to use that instead”

Then specify the path to you’re xmltv file that we output using zap2xml, and give your epg a title

Plex will try and auto map the channels to those in the zap2xml generated guide, so check it out and make any changes if necessary, then click Continue

At this point it should start loading the guide and you should be good.
If everything worked up to this point, the only thing left of to create a scheduled task to call our create_epg.sh or create_epg.bat script. In linux I used crontab -e to create the schedule job, and in windows i used task scheduler.
It’s getting pretty late, so i’m going to stop here for tonight, and finish explaining the step to create the scheduled jobs in more detail tomorrow.
