This is a short introduction into how to convert image-based subtitles (PGS, VOBSub etc) to text-based subtitles (SRT, mainly).
Doing so improves compatibility greatly with a lot of Plex clients and helps to avoid transcoding in a lot of cases.
It also enables you to change the size, position, or color of the subtitles on a number of Plex clients.
The software used is Subtitle Edit (currently only available for Windows, though there is a way to make it run on Linux as well).
If you know about similar software for other operating systems, please mention them below.
After opening Subtitle Edit, click on the yellow folder icon to Open File.
Select the .sub file or the video file which contains the subtitle stream(s).
If the file contains more than one subtitle, a selection screen is shown first.
Here is a screenshot how it looks like when opening a .sub file with multiple subtitle streams:
Click on the drop-down selector indicated by the arrow to select one of the languages:

When opening e.g. an MKV file with multiple subtitle streams, it will look a little bit different.
But you still have to select the subtitle stream to work with.
Pick one of the English subtitles and then click on OK.
Which results in this screen:

This is the OCR window, where we are trying to convert the “pictures” from the .sub file into editable text.
It is crucial to load the fitting language support for Tesseract and an accompanying dictionary. Otherwise the OCR process will produce a much, much higher number of errors.
You can click the ellipsis … beside the “Language” and “Dictionary” drop-downs to load additional languages to your computer.
English is already pre-installed, so all I have to do is to make sure that English is selected in both drop-downs.
The checkboxes under “Image palette” are set automatically and very rarely need adjustments. Ignore them for now.
Set the “OCR method” to “Tesseract …” [try the highest version number first].
In the window labeled “Subtitle text”, you can see that the column “text” is still empty.
You click now on the button “Start OCR” to start the OCR process.
It now starts to process the lines.

You can press Stop anytime to interrupt this process, but there is not really a reason to do so. Just let it run through until it reaches the last line.
You’ll now notice that the list of “Unknown words” has been filled.
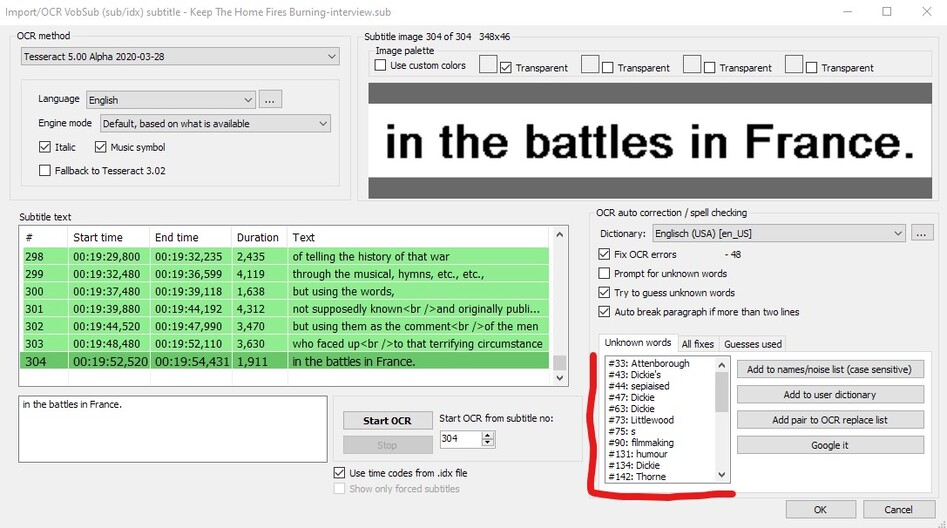
This list consists mostly of names or abbreviations and such, as you can see in the screen shot.
However, it is a good idea to go through this list and click on those which appear to be spelled wrong or look weird.
Clicking on a word will take you to the line where this word appears. In the upper-right part of the dialog, you can also see the original “image” of the sentence.
In the lower-left part you can see the text that has been created from it.
If there are obvious errors here, correct them right now.
You could add names which appear very often to the “names/noise” list or add a word to the dictionary as well. Just be careful not to enter too much words, or the accuracy of the OCR process may go down subsequently.
But for now, just ignore those buttons.
Once you’ve perused the list of “Unknown words”, press OK.
this will close the OCR window and present you with the main view of the freshly recognized subtitle text:

This is looking quite good so far.
Save the subtitle for now, by simply pressing the ‘Save’ icon 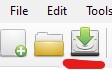
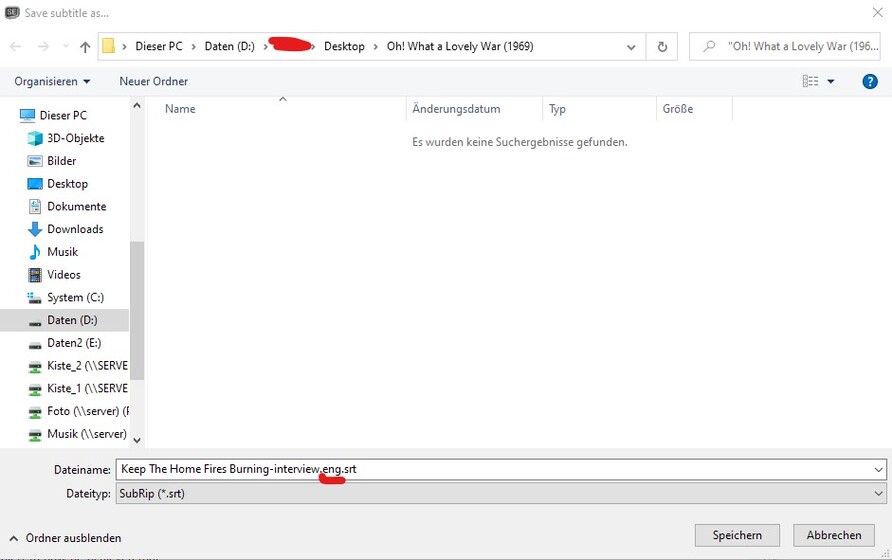
By default it uses the SRT format, which is optimal for Plex.
You can include the language of the subtitle into its file name:
Since our example file is a local movie extra, the language in the file name cannot be used directly with Plex. However, MKVtoolnixGUI can use this language hint from the filename and pre-populate the language meta tag automatically for you, when you later mux the SRT file into your video file.
But that is the topic of a different thread
Official documentation on how to name external subtitles https://support.plex.tv/articles/200471133-adding-local-subtitles-to-your-media/
Now, I recommend you to let SubtitleEdit perform various automated checks to improve both the look and the compatibility of the file with the various clients.
Click on the ‘Tools’ icon to “Fix common errors”:

The following work pretty well for English:

Click “Next”.
It appears our subtitle is already perfect, because the check didn’t find anything to fix: ![]()

Just click on ‘Cancel’, because there is nothing to do.
Now press again the Save icon, just for safety.
You now have a good SRT subtitle which will prevent Plex from falling back to transcoding mode in most cases.
P.S.: if you end up using Subtitle Edit regularly, consider giving the author of Subtitle Edit a donation for his continued excellent work via his website https://www.nikse.dk/Donate/
